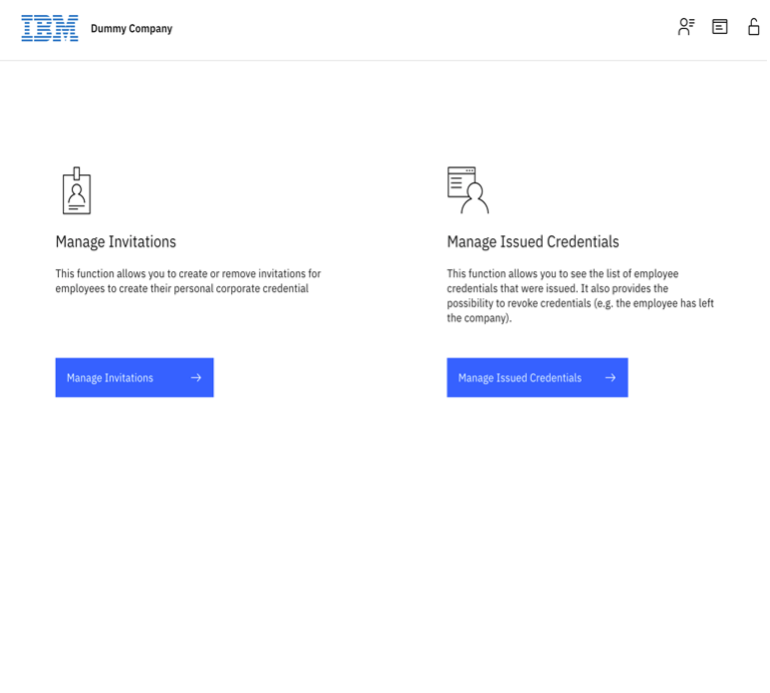
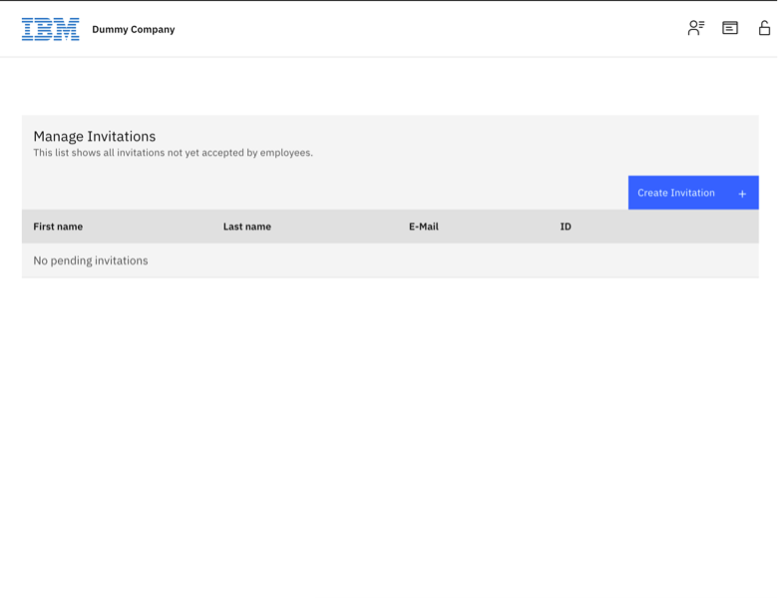
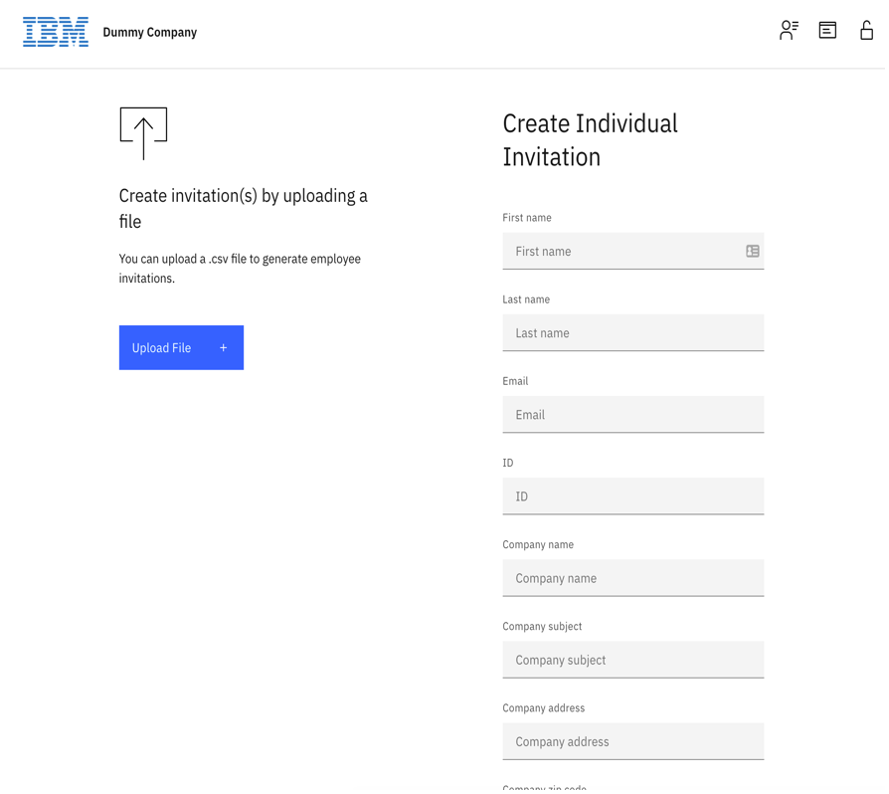
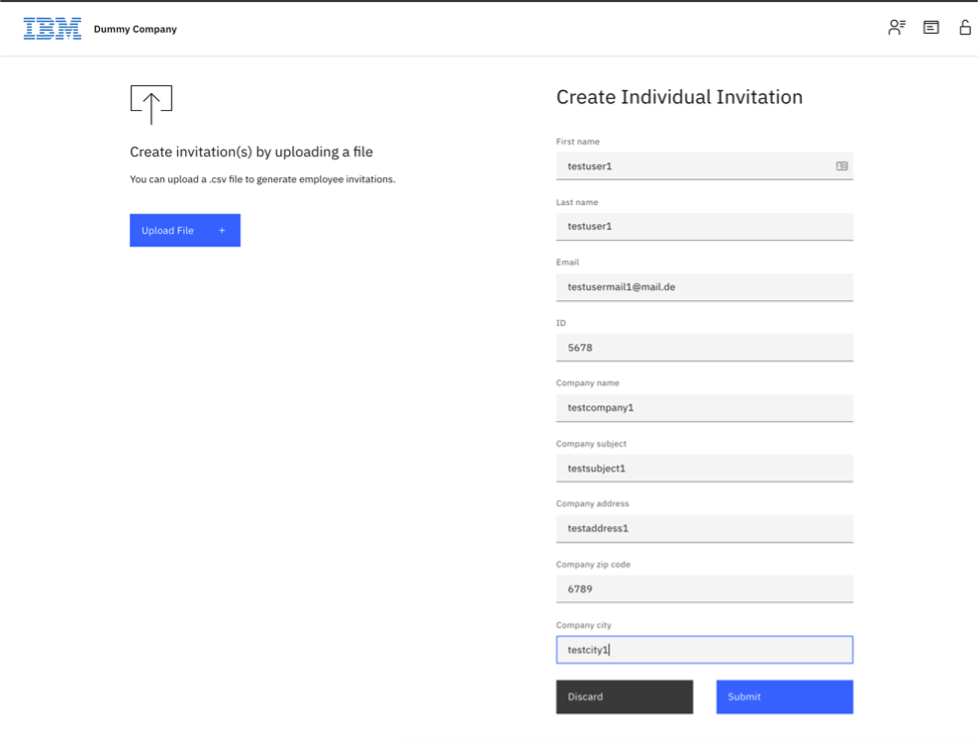
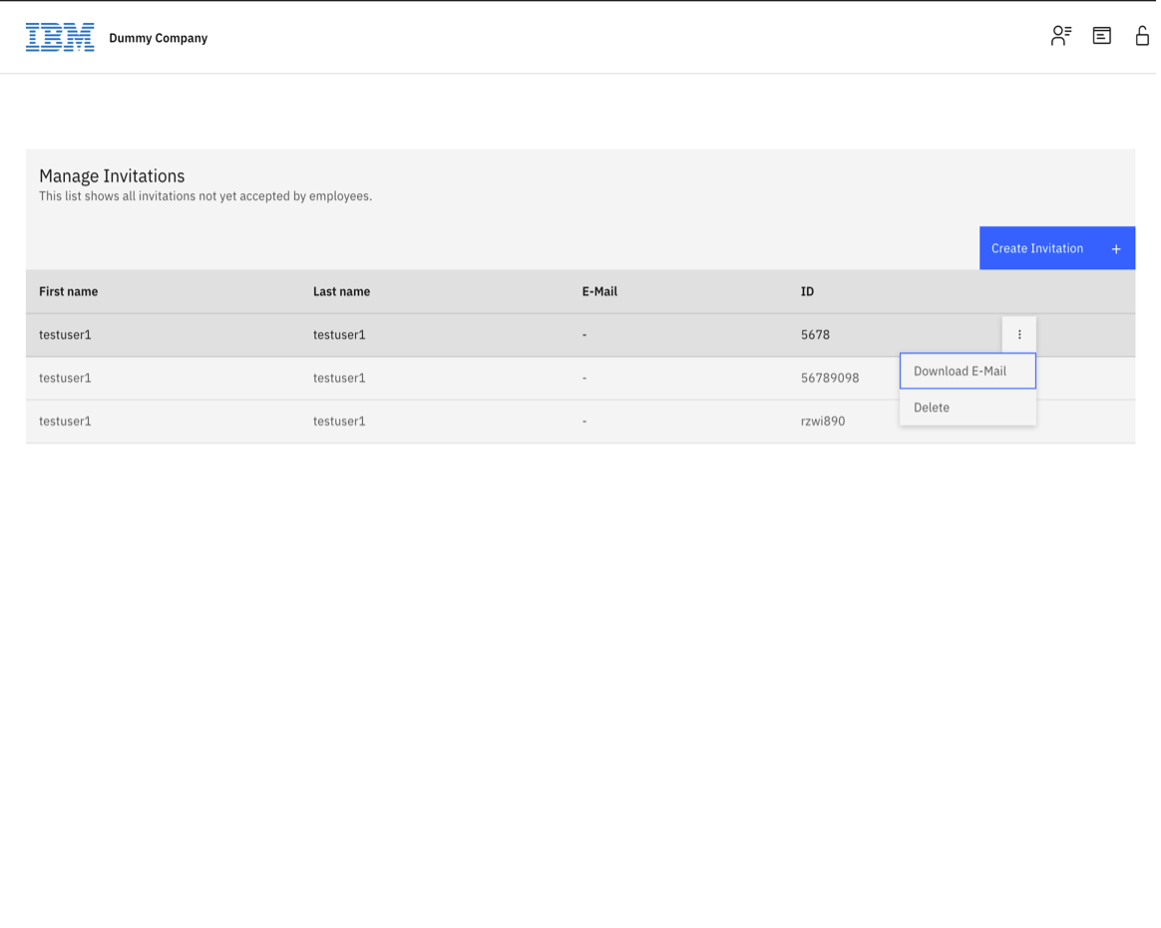
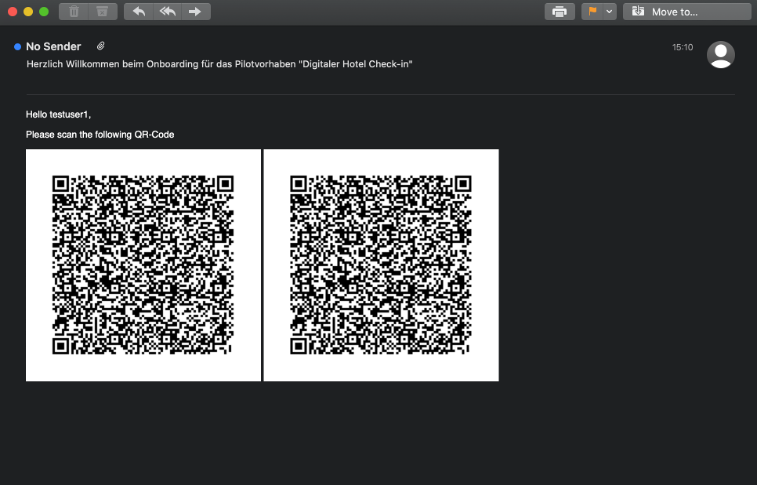
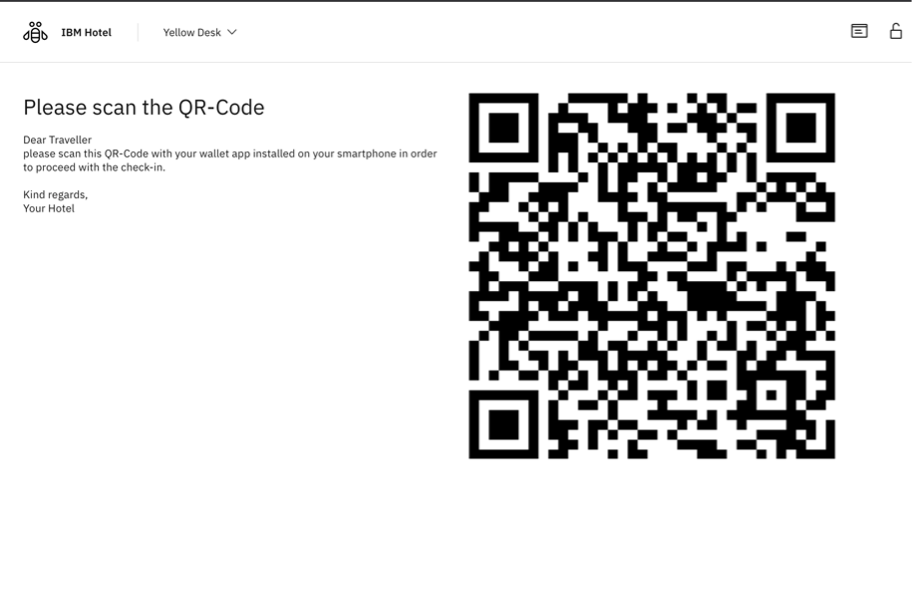
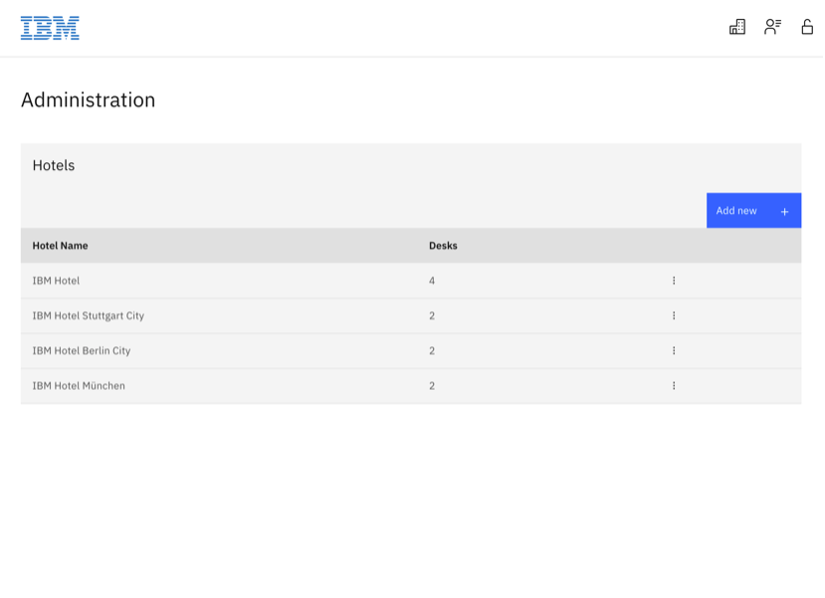
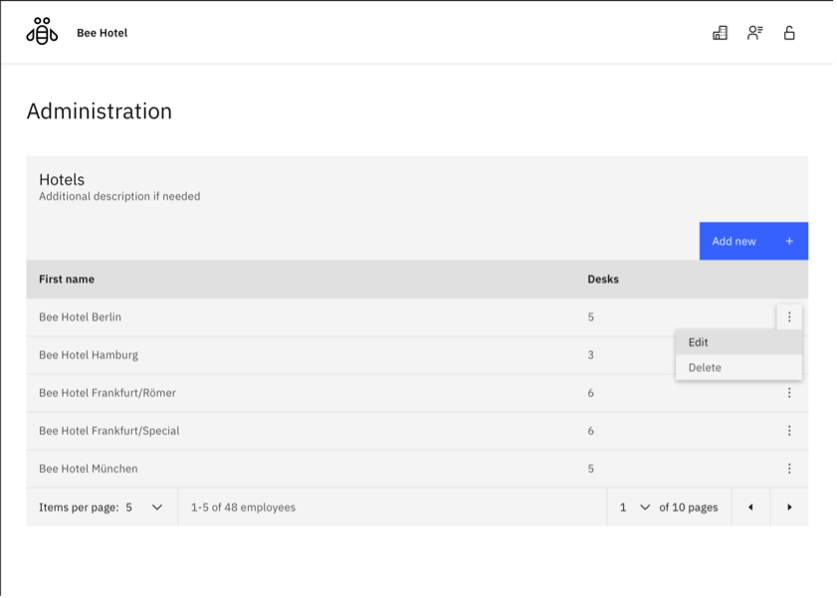
#

Company UI

Issue Corporate Credential:

  1. Open the Company application in your browser.
  2. Enter username and password.
  3. On the homepage, click on "manage invitations".
  4. You will then be redirected to the list of created invitations. To create a new invitation, click on "create invitation.
  5. Enter your test data in the free text fields on the right side. (please fill in all fields). Then confirm with "submit".
  6. Now go to the drop-down of your just created user and click on "download email".
  7. Open the .eml file and scan the QR code with the ID Wallet app on your smartphone.

Hotel UI

  1. Open the Hotel application in your browser.
  2. Enter username and password.
  3. On the homepage, select desk.
  4. Now click on "show QR Code". Leave this page open.
  5. Then open the ID Wallet app on your smartphone and follow the steps described there.
  6. Switch back to the browser and the view of the employee at the reception. There please go to "show data". There you will find the new guest with whom you have just answered the request.
  7. Select this guest and confirm with "check-in guest". You will then be redirected to the details page of the guest and can see the credentials data of the guest there.

Hotel UI

  1. Open the Hotel application in your browser.
  2. Enter username and password.
  3. OnYou will now see the hotels you have created. You can add, edit or delete new hotels. By clicking on the hotel button (right side) you will always return to this page.
  4. By clicking on "add new" you can add another hotel to your list. 
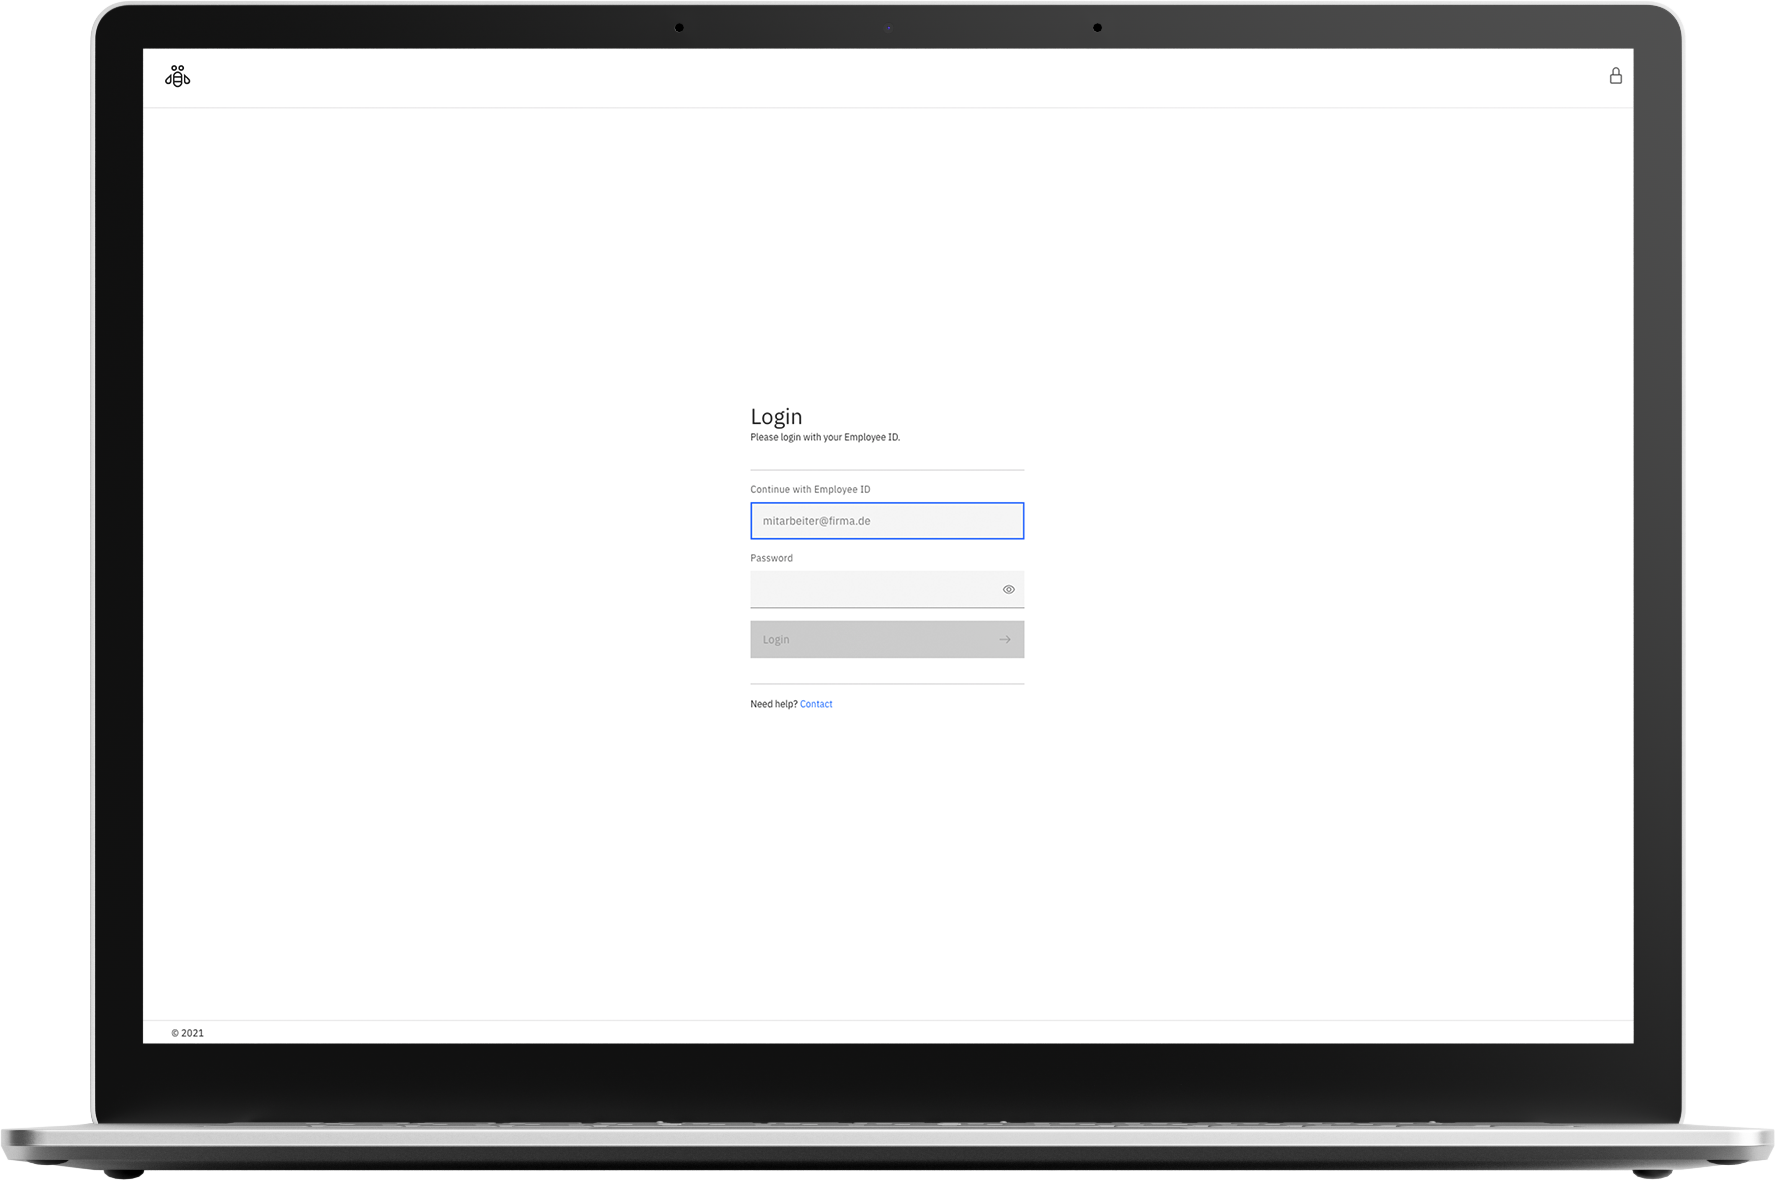
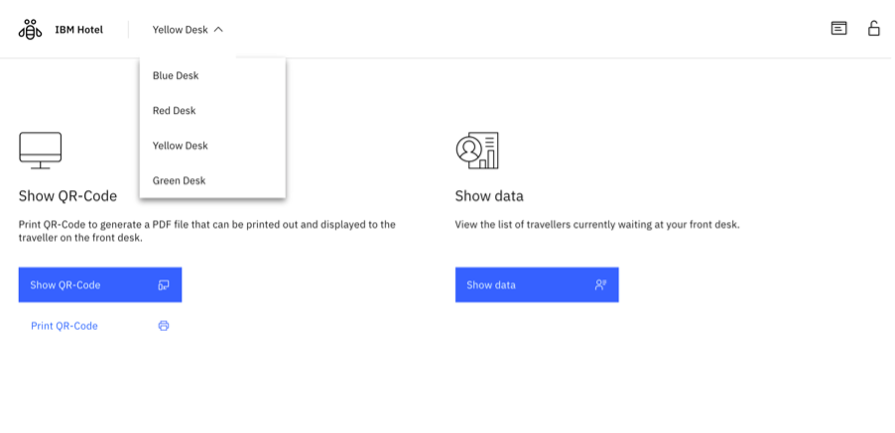
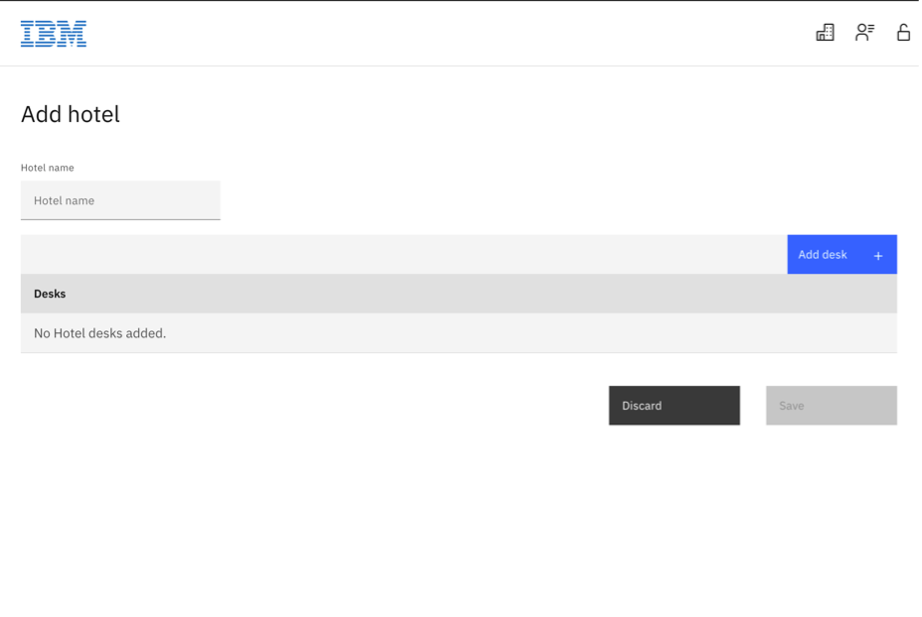
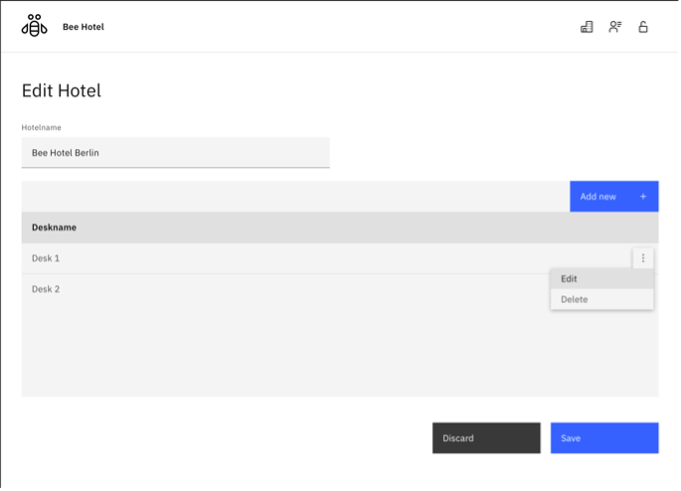
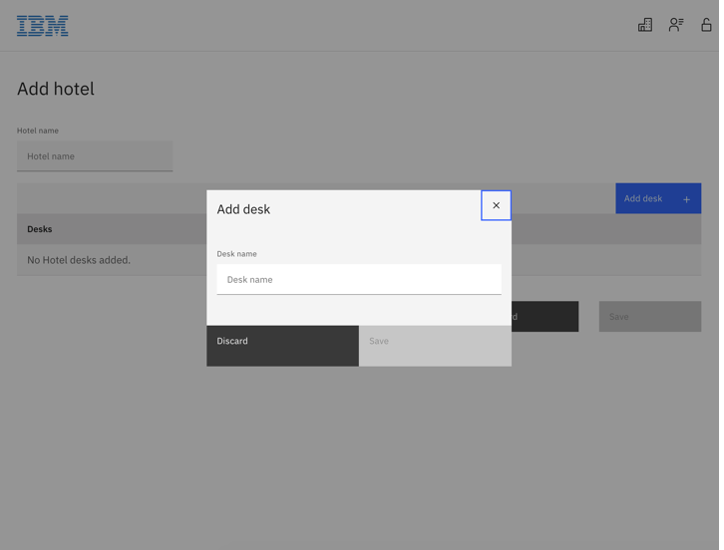
After you have assigned a name, confirm the entry with "save" so that another hotel is added to the list.
  5. Furthermore, you can manage your desks of the respective hotel in this view (add, edit and delete). Clicking on "add desk" opens a modal in which you can add another desk.
  6. You can also maintain the list of employees of your hotels. To do this, click on the employee icon on the right side. You will get to the list of your employees and can now add, edit or delete new employees.
  7. By clicking on "add new" you can add an employee to your list in order to grant this person access to the system. With "save" you confirm your entry and grant this person access to the system. Afterwards you only have to distribute username and password to the person (e.g. via company email).